「XServer VPSを利用して、Next.jsを利用して独自ドメインでWebページを作成したい」
そんな方に向けて、XServer VPSでNext.jsを利用する方法を解説します。
以下のページを参考に、必要要件を満たします。
https://nextjs.org/docs/app/getting-started/installation
Node.jsの一定以上のバージョンが必要とのことです。
下記のページを参考にSSH接続し、コマンドを実行していきます。
https://nodejs.org/ja/download
まずは次のコマンドを実行します。
# curl -o- https://raw.githubusercontent.com/nvm-sh/nvm/v0.40.3/install.sh | bash
  % Total    % Received % Xferd  Average Speed   Time    Time     Time  Current
                                 Dload  Upload   Total   Spent    Left  Speed
100 16631  100 16631    0     0  37277      0 --:--:-- --:--:-- --:--:-- 37205
=> Downloading nvm from git to '/root/.nvm'
=> Cloning into '/root/.nvm'...
remote: Enumerating objects: 383, done.
remote: Counting objects: 100% (383/383), done.
remote: Compressing objects: 100% (326/326), done.
remote: Total 383 (delta 43), reused 178 (delta 29), pack-reused 0 (from 0)
Receiving objects: 100% (383/383), 392.12 KiB | 9.80 MiB/s, done.
Resolving deltas: 100% (43/43), done.
* (HEAD detached at FETCH_HEAD)
  master
=> Compressing and cleaning up git repository

=> Appending nvm source string to /root/.bashrc
=> Appending bash_completion source string to /root/.bashrc
=> Close and reopen your terminal to start using nvm or run the following to use it now:

export NVM_DIR="$HOME/.nvm"
[ -s "$NVM_DIR/nvm.sh" ] && \. "$NVM_DIR/nvm.sh"  # This loads nvm
[ -s "$NVM_DIR/bash_completion" ] && \. "$NVM_DIR/bash_completion"  # This loads nvm bash_completion
nvmコマンドを利用できるようになるために、次のコマンドを実行します。
# \. "$HOME/.nvm/nvm.sh"nvmをインストールします。LTSを指定するには、--ltsオプションを利用します。
# nvm install --lts# nvm install 22# nvm install 22
Downloading and installing node v22.17.0...
Downloading https://nodejs.org/dist/v22.17.0/node-v22.17.0-linux-x64.tar.xz...
######################################################################### 100.0%
Computing checksum with sha256sum
Checksums matched!
Now using node v22.17.0 (npm v10.9.2)
Creating default alias: default -> 22 (-> v22.17.0)
インストールが完了したら、インストールの確認を行います。
# node -v
v22.17.0
# nvm current
v22.17.0
# npm -v
10.9.2
今回は、直接VPSサーバーのディレクトリにNext.jsのプロジェクトを作成します。
Next.jsのプロジェクトを作成したいディレクトリに移動して、npx create-next-app@latestコマンドを実行してプロジェクトの作成を行います。
# npx create-next-app@latest
Need to install the following packages:
create-next-app@15.4.1
Ok to proceed? (y) y

✔ What is your project named? … my-app
✔ Would you like to use TypeScript? … No / Yes
✔ Would you like to use ESLint? … No / Yes
✔ Would you like to use Tailwind CSS? … No / Yes
✔ Would you like your code inside a `src/` directory? … No / Yes
✔ Would you like to use App Router? (recommended) … No / Yes
✔ Would you like to use Turbopack for `next dev`? … No / Yes
✔ Would you like to customize the import alias (`@/*` by default)? … No / Yes
Creating a new Next.js app in /var/www/example.com/my-app

Using npm.

Initializing project with template: app


Installing dependencies:
- react
- react-dom
- next


added 26 packages, and audited 27 packages in 16s

6 packages are looking for funding
  run `npm fund` for details

found 0 vulnerabilities
Success! Created my-app at /var/www/example.com/my-app

npm notice
npm notice New major version of npm available! 10.9.2 -> 11.4.2
npm notice Changelog: https://github.com/npm/cli/releases/tag/v11.4.2
npm notice To update run: npm install -g npm@11.4.2
npm notice
作成したプロジェクトのディレクトリに移動します。
# cd my-appnpm run buildコマンドを実行します。
# npm run build

> my-app@0.1.0 build
> next build

Attention: Next.js now collects completely anonymous telemetry regarding usage.
This information is used to shape Next.js' roadmap and prioritize features.
You can learn more, including how to opt-out if you'd not like to participate in this anonymous program, by visiting the following URL:
https://nextjs.org/telemetry

   ▲ Next.js 15.4.1

   Creating an optimized production build ...
 ✓ Compiled successfully in 8.0s
 ✓ Linting and checking validity of types
 ✓ Collecting page data
 ✓ Generating static pages (5/5)
 ✓ Collecting build traces
 ✓ Finalizing page optimization

Route (app)                                 Size  First Load JS
┌ ○ /                                    5.57 kB         105 kB
└ ○ /_not-found                            992 B         101 kB
+ First Load JS shared by all            99.6 kB
  ├ chunks/4bd1b696-cf72ae8a39fa05aa.js  54.1 kB
  ├ chunks/964-eda38e26c0391a47.js       43.5 kB
  └ other shared chunks (total)          1.91 kB


○  (Static)  prerendered as static content
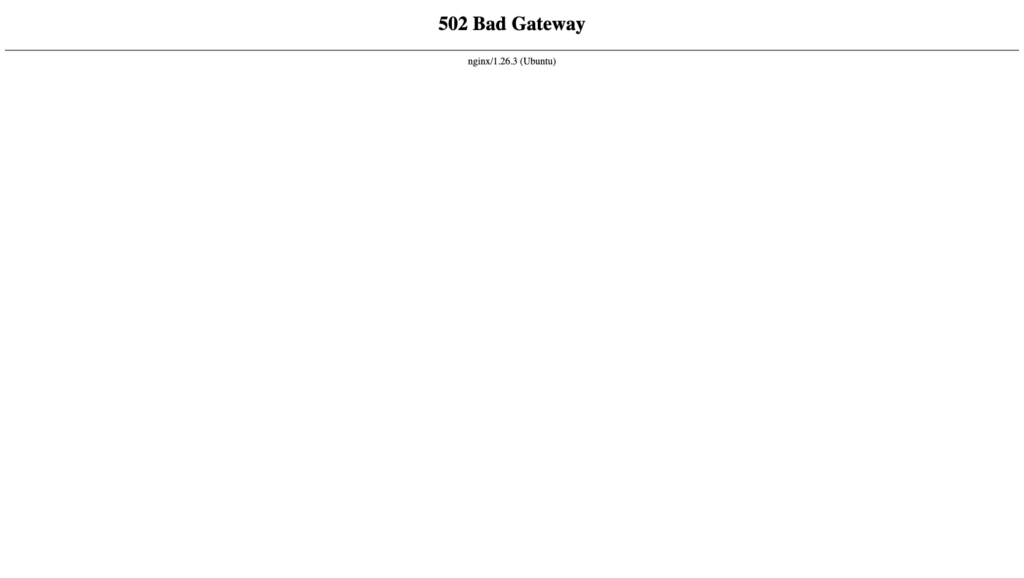
この時点で独自ドメインにアクセスしても、次のように502エラーになっているはずです。

/etc/nginx/sites-availableのdefaultファイルの末尾に独自ドメイン用の記載を行います。VPSサーバーの再起動を行います。
server {
    listen 80;

    server_name example.com;

    location / {
        proxy_pass http://localhost:3000;
        proxy_http_version 1.1;
        proxy_set_header Upgrade $http_upgrade;
        proxy_set_header Connection 'upgrade';
        proxy_set_header Host $host;
        proxy_cache_bypass $http_upgrade;
    }

}
npm run startコマンドを実行します。
# npm run start

> my-app@0.1.0 start
> next start

   ▲ Next.js 15.4.1
   - Local:        http://localhost:3000
   - Network:      http://xxx.xxx.xxx.xxx:3000

 ✓ Starting...
 ✓ Ready in 805ms
これで独自ドメインでNext.jsのWebサイトを表示できます。

proxy_passとLocalの記述が同じ内容になっていることに注意してください。
