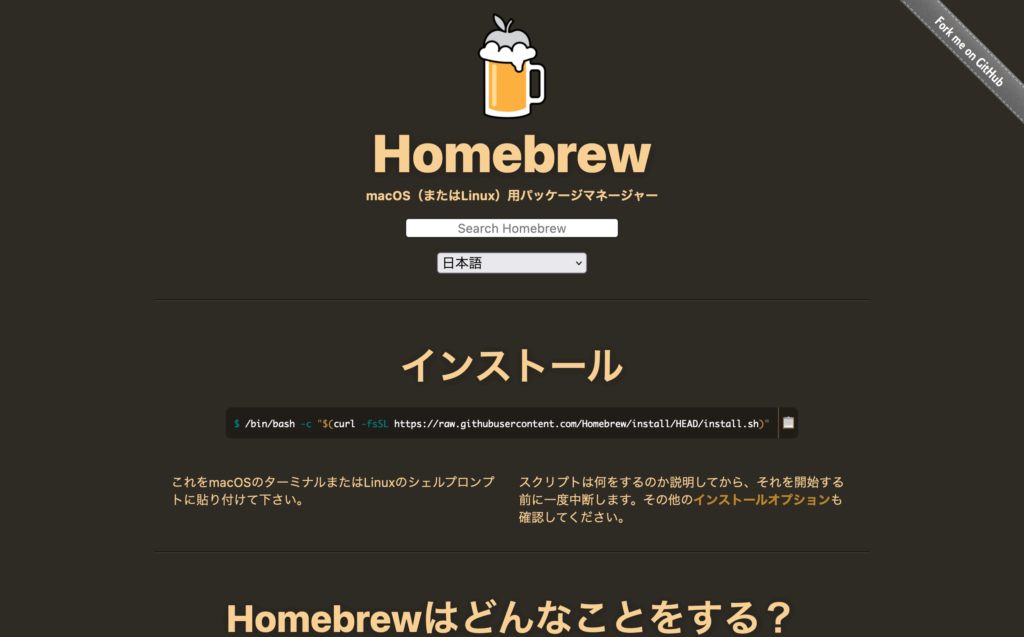
Homebrew公式サイトよりインストールコマンドをコピーします。コピーしたコマンドをターミナルで実行します。
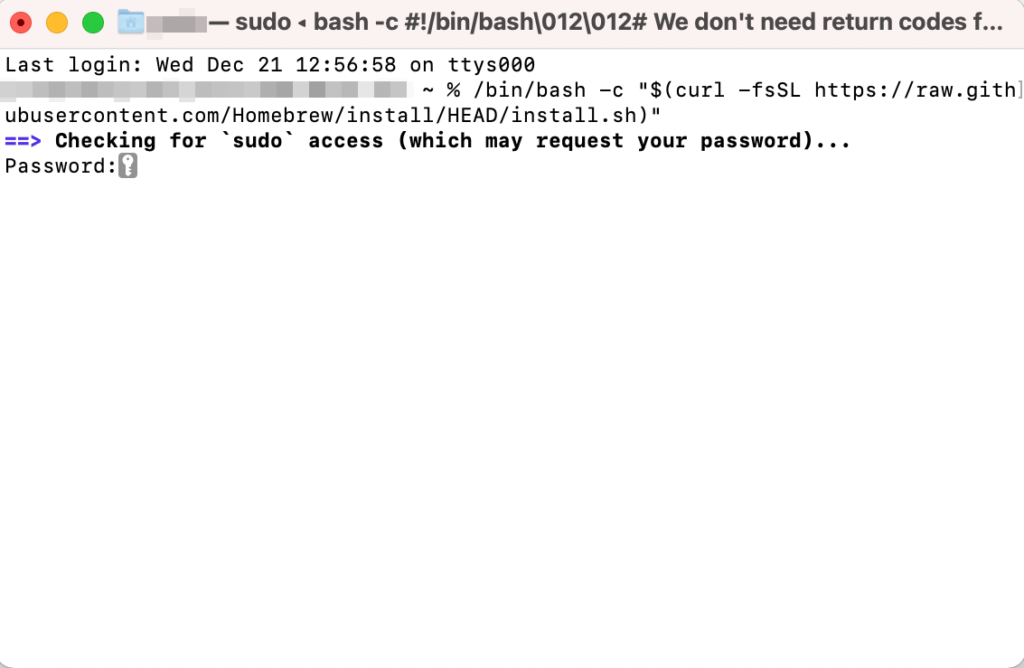
2022年12月21日に確認した時は、次のコマンドでした。
/bin/bash -c "$(curl -fsSL https://raw.githubusercontent.com/Homebrew/install/HEAD/install.sh)"インストールコマンドを実行すると、パスワードの入力を求められます。このパスワードは、Macにログインするときに入力するパスワードと同じものになります。
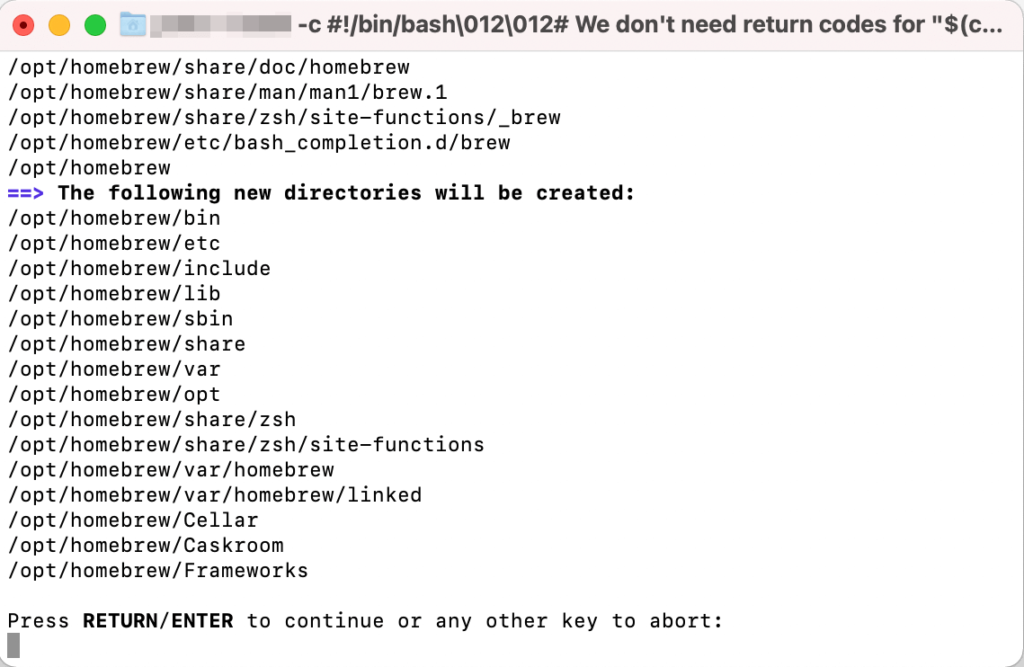
パスワードが通ると、インストールの準備が進行します。準備ができると、「Press RETURN/ENTER to continue or any other key to abort:」と表示されます。実行するためにエンターキーを押します。
インストールが進行します。
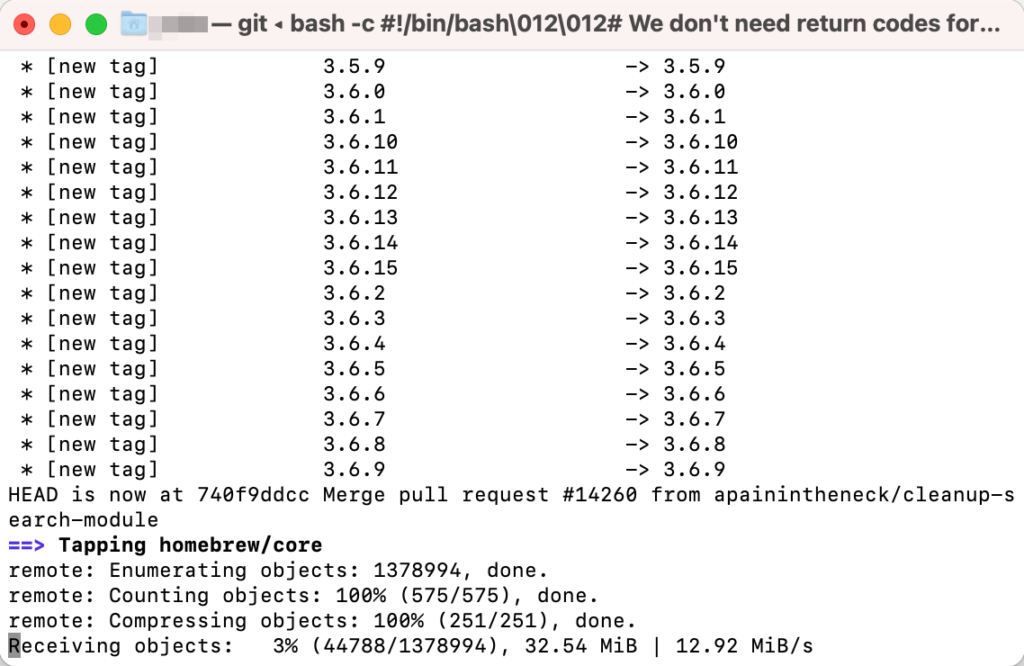
私の場合、下記の画像で最後の行が表示されたときに、数分ほど表示内容が変わらない状態が続きました。
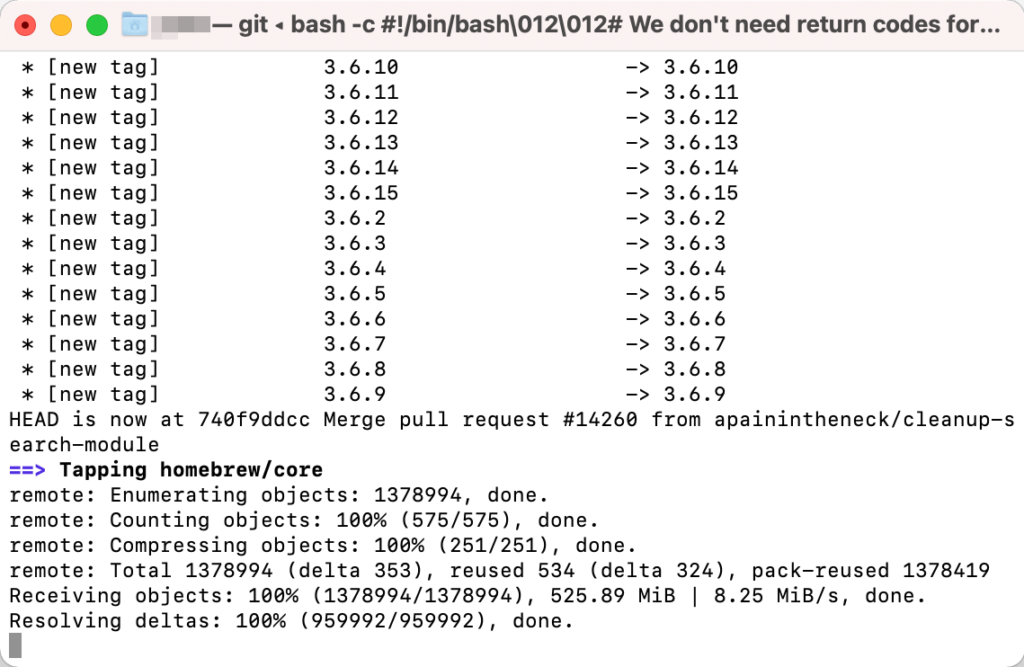
しかし数分経つと、次の画像のように問題なくインストールが進行していきました。慌てずに画面を閉じるなどの操作を行わないようにしましょう。
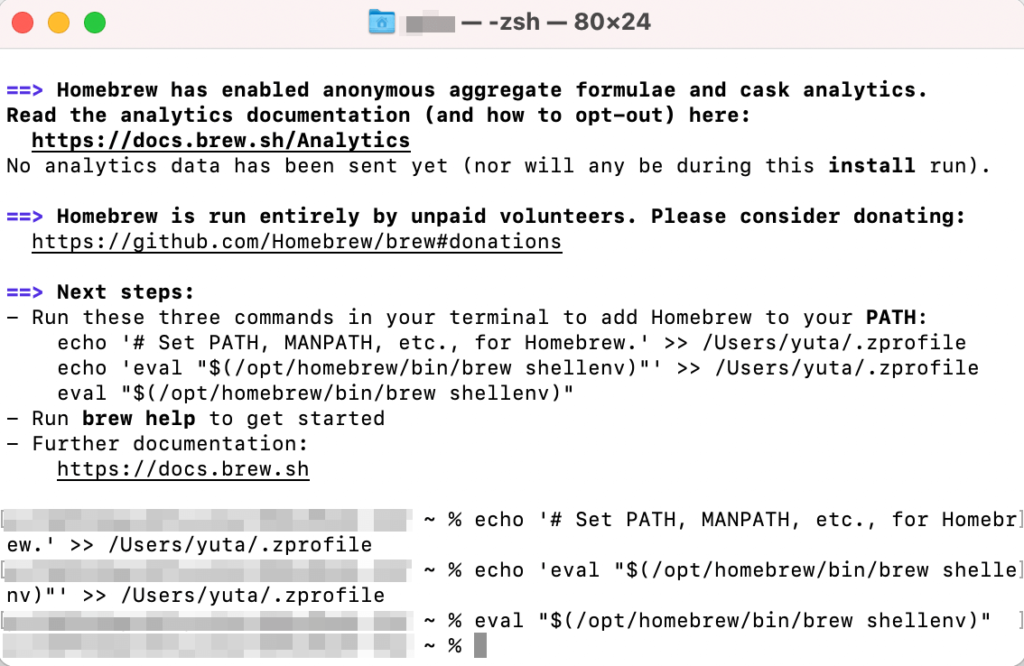
Homebrewのインストールが終わると、「Installatin successful!」と表示されます。インストールが完了したら、「Next steps」以下にある各行の操作を実行していきます。
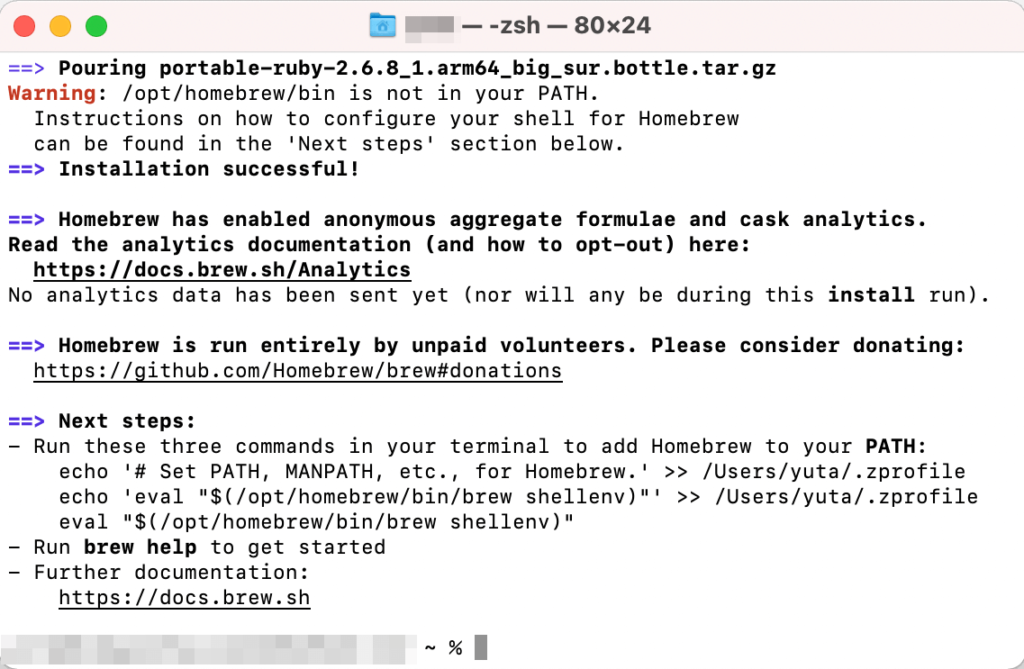
各行をコピーして、1行ずつ実行していきます。
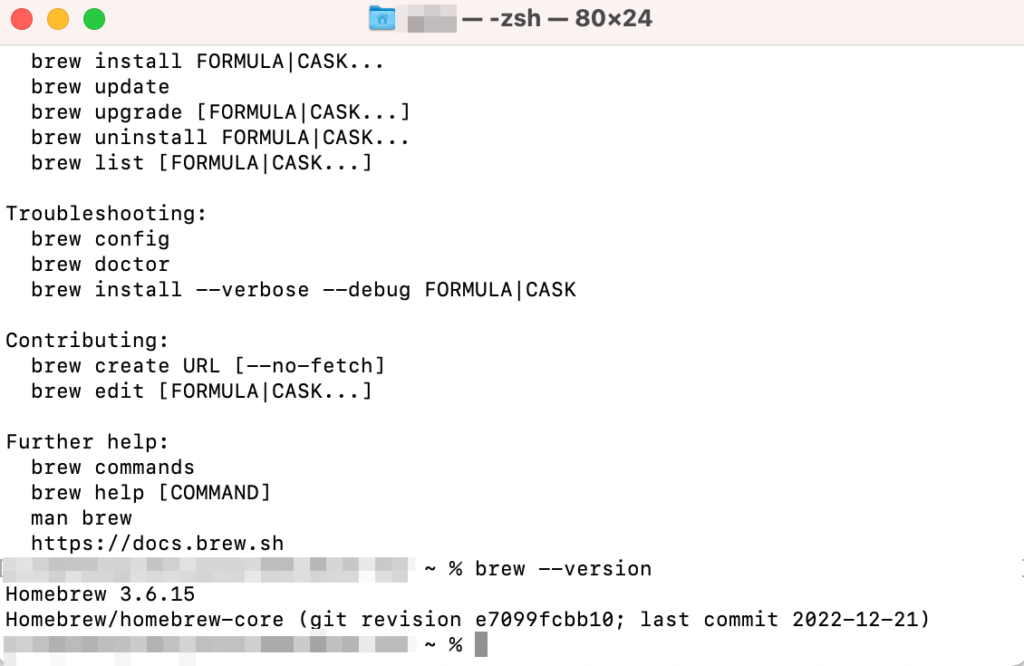
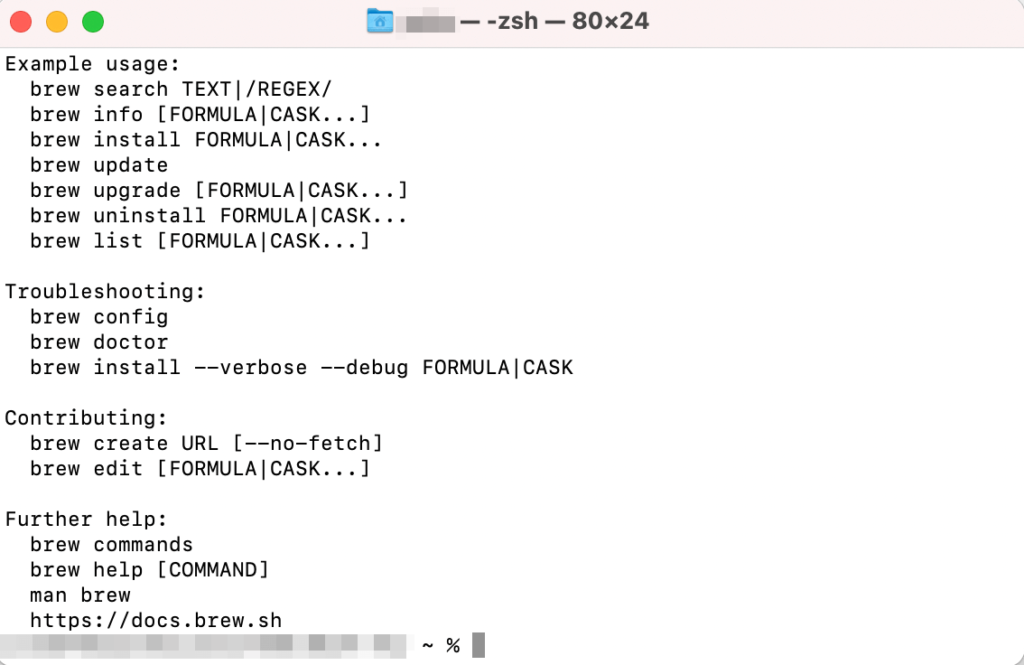
Next stepsに記載のある操作を終えたら、「brew help」を実行してみます。すると次のように実行できるコマンド例が表示されます。
これでHomebrewのインストールは完了です。他にも「brew –version」と実行すると、Homebrewのバージョン確認が行えます。バージョンが表示されたら、インストールが成功しているということです。